- HOME PAGE
- WHO ARE WE?
- CAR SHOWS & CRUISE-IN's MARYLAND AND VIRGINIA
- PRE WAR & POST WAR STOCK CAR REPAIR'S
- AUTO RELATED VENDORS
- PICTURES OF CRUISERS AND THEIR CARS
- CLASSIC CARS FOR SALE
- CAR ITEMS FOR SALE
- Bruce Magee Chevy Restoration Project
- WEEKLY CRUISER BROADCAST
- Lenny Baklarz Pontiac Restoration Project
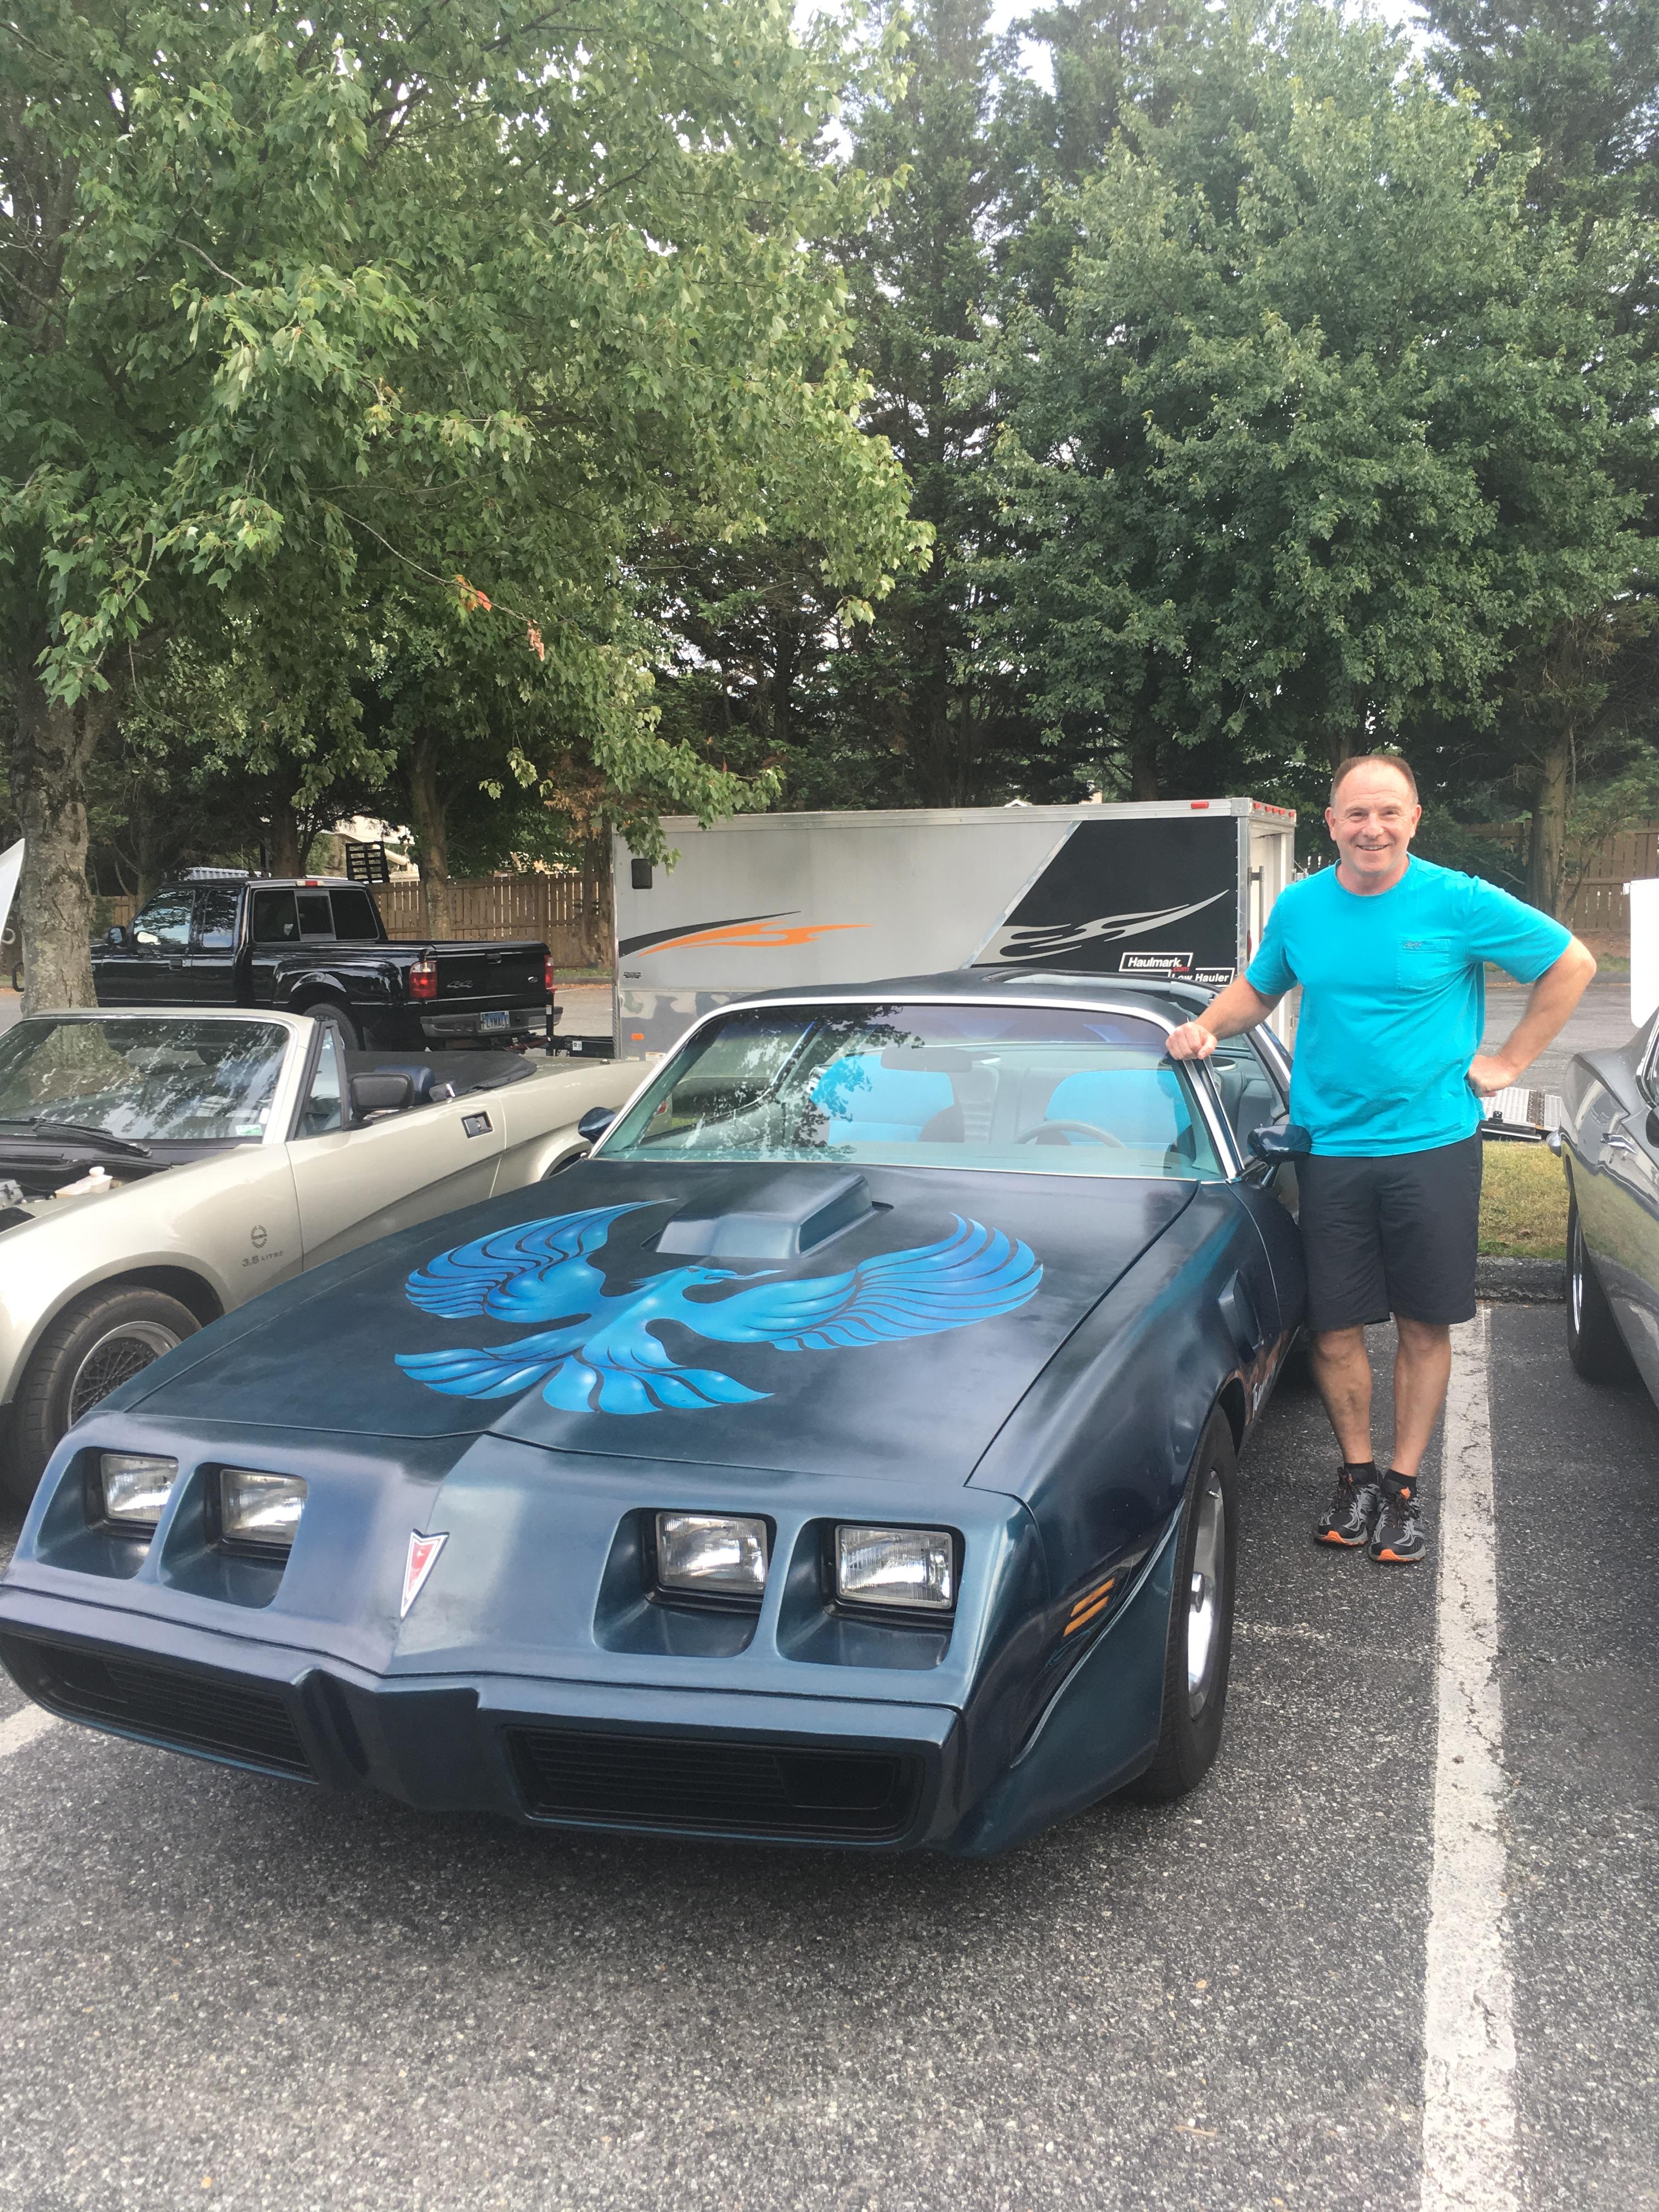
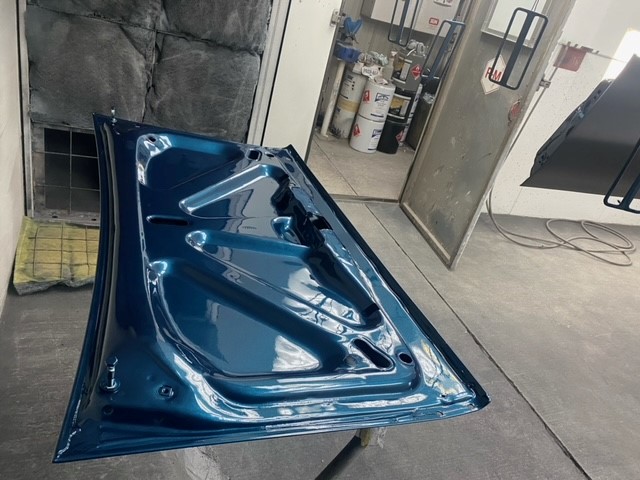
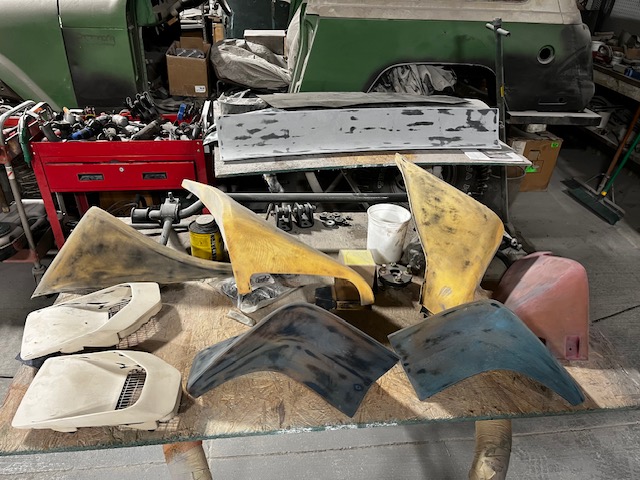
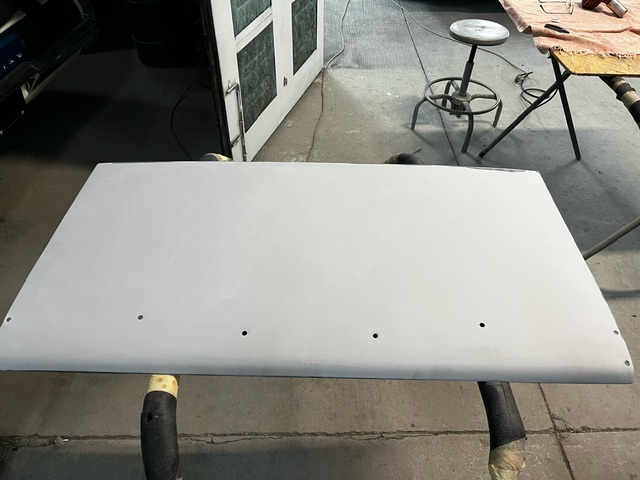
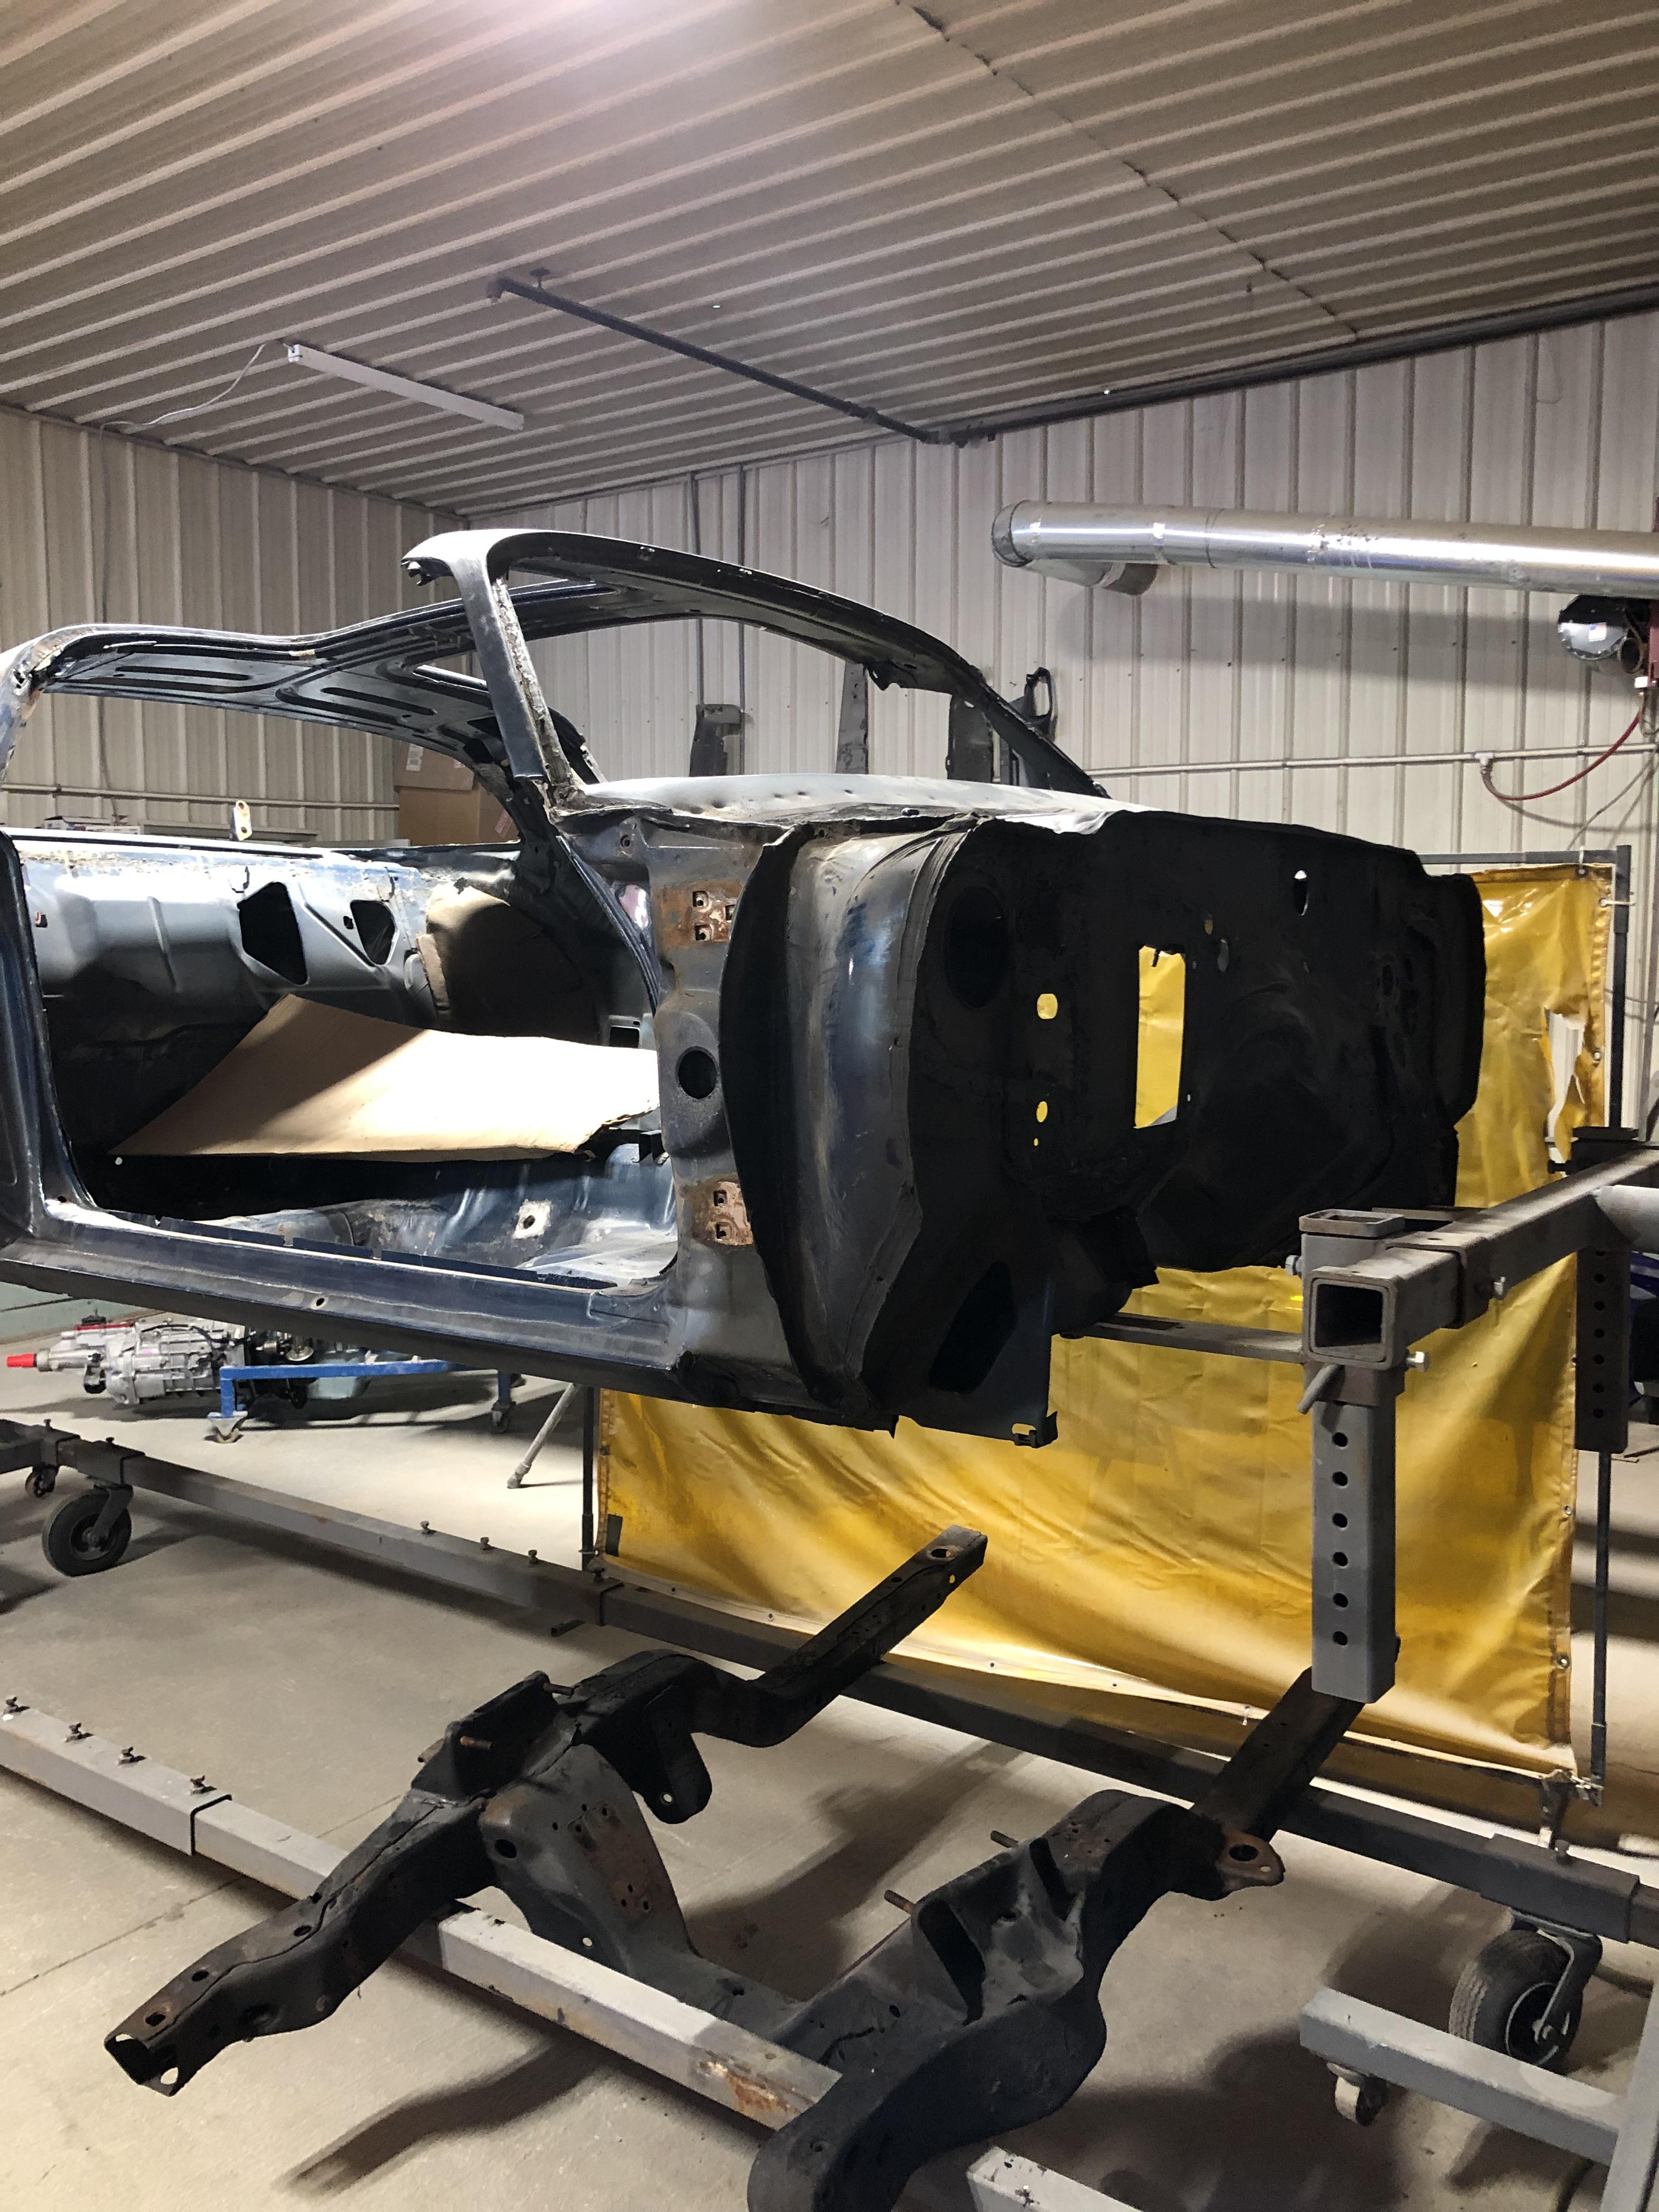
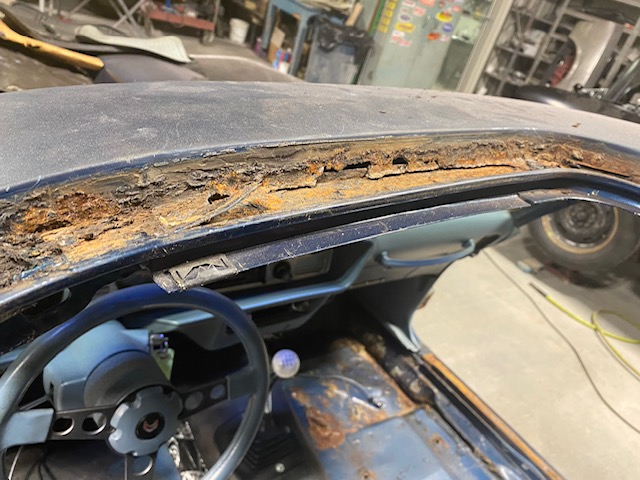
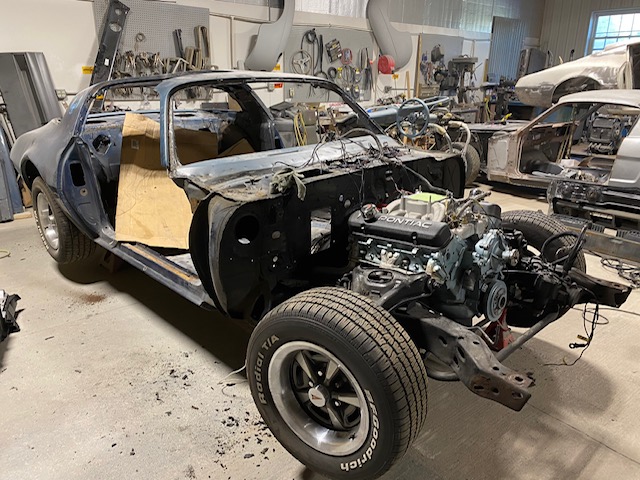
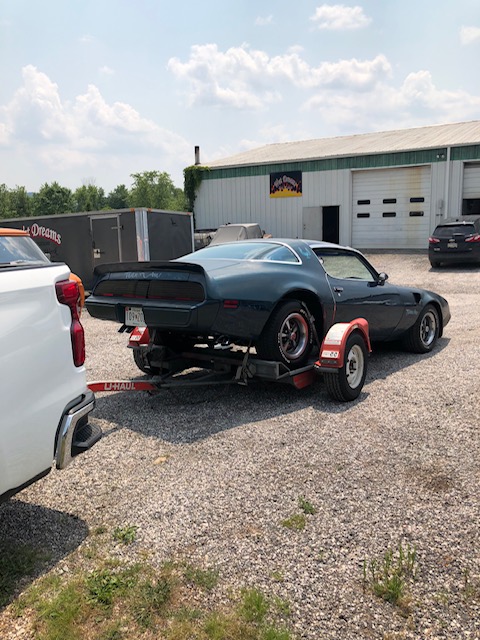
It was decided to not use the Eurothane front bumper because of fit and alignment inconsistency as well as color mismatch due to the Flex additive. We were able to locate a fiberglass bumper that was fabricated in a shop in Canada. The original hood was beyond repair especially after the fan broke loose and the blades cut through it! I was lucky to have met Ron Johnson and he just happened to have a brand new hood! Now Steve has a blemish free canvas/hood for a painted bird.
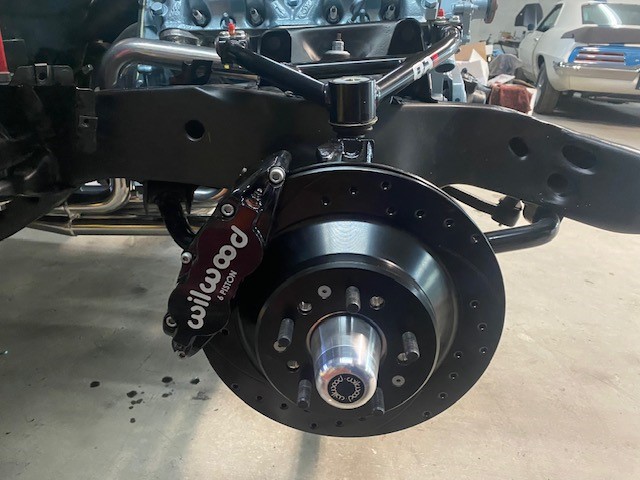
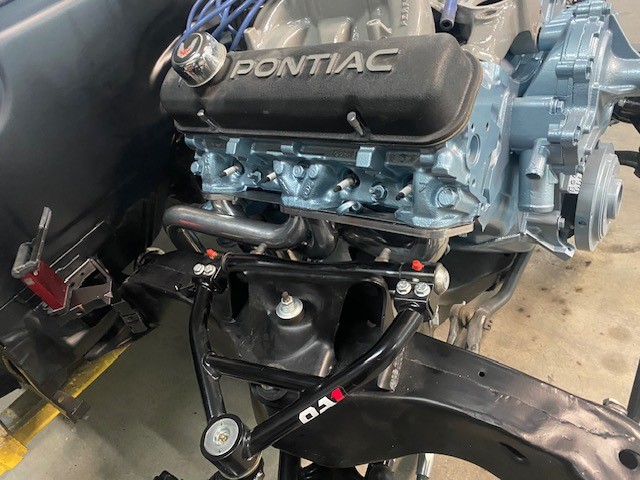
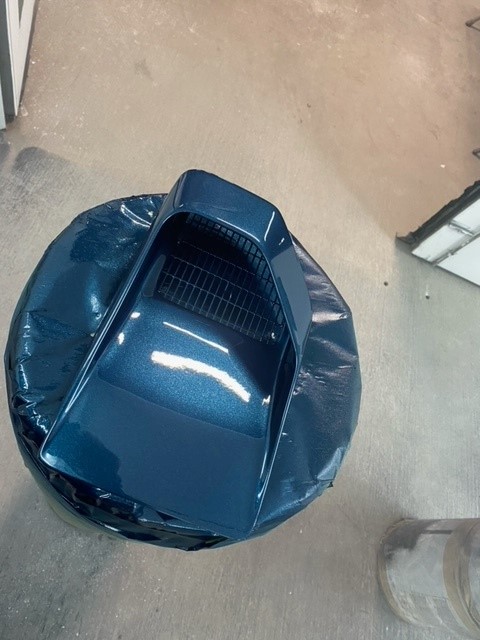
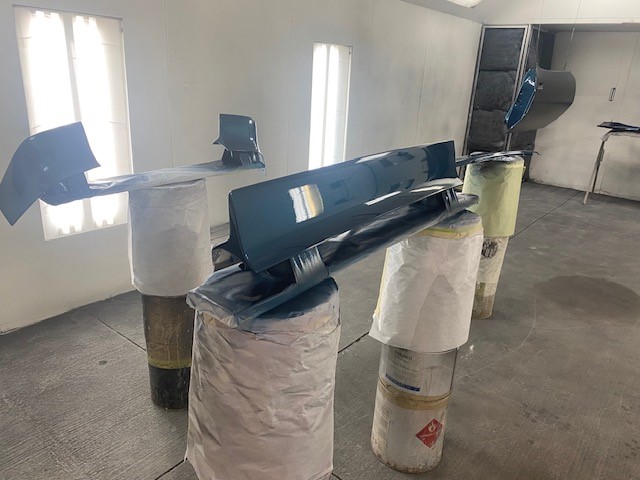
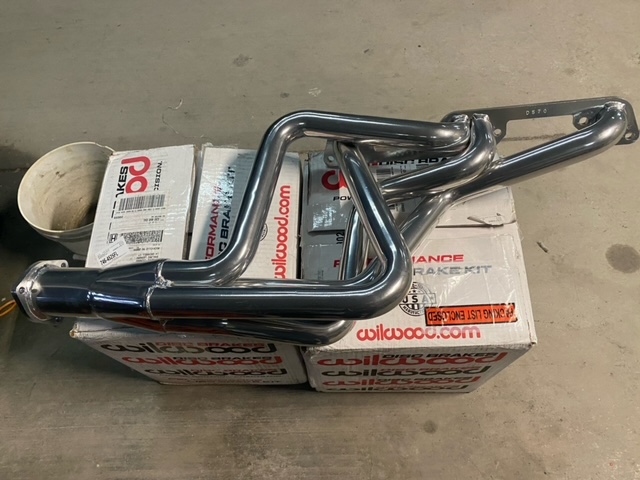
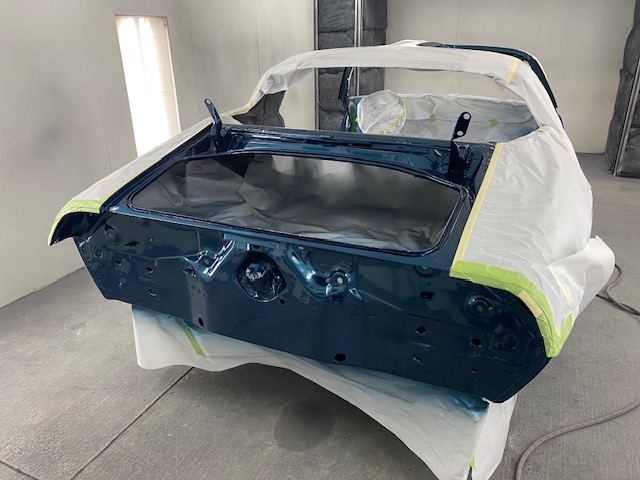
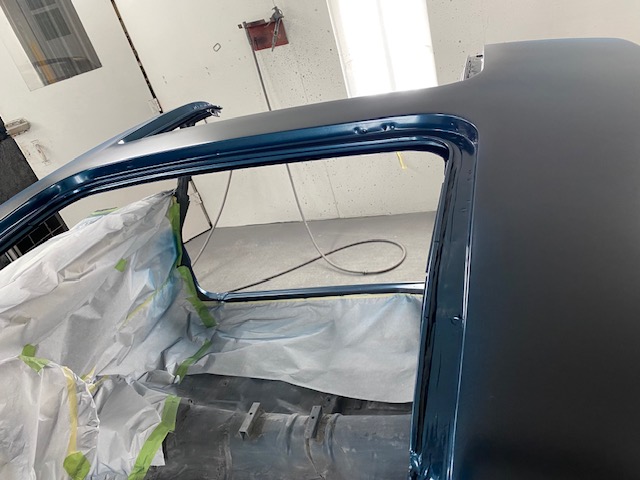
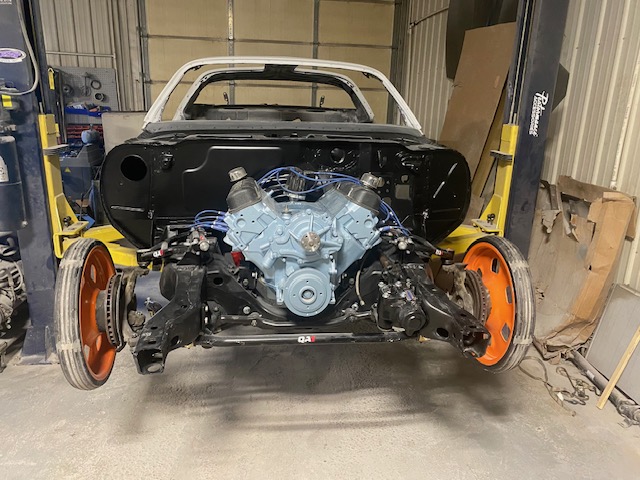
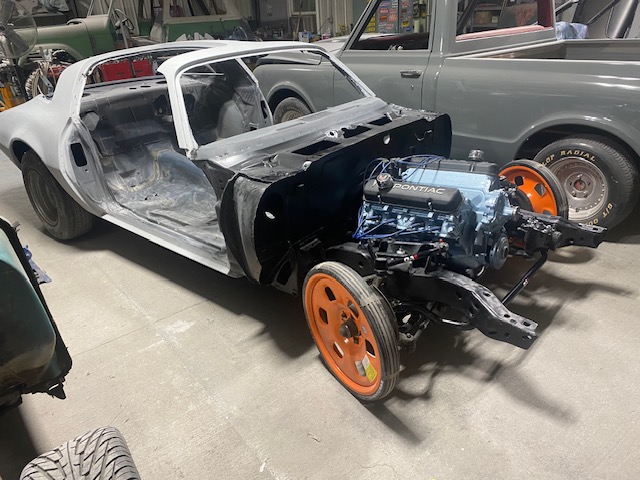
The brakes and headers are assembled. Steve indicated that the eurothane bumpers are subject to a poor fit at the hood and front fender gaps, waving across the nose, and alteration and color mismatch due to the flex additive. We located a fabrication shop in Canada who makes the front bumper in fiberglass. Next paint steps with the rear spoiler, doors, inside trunk lid, front fender air vent.
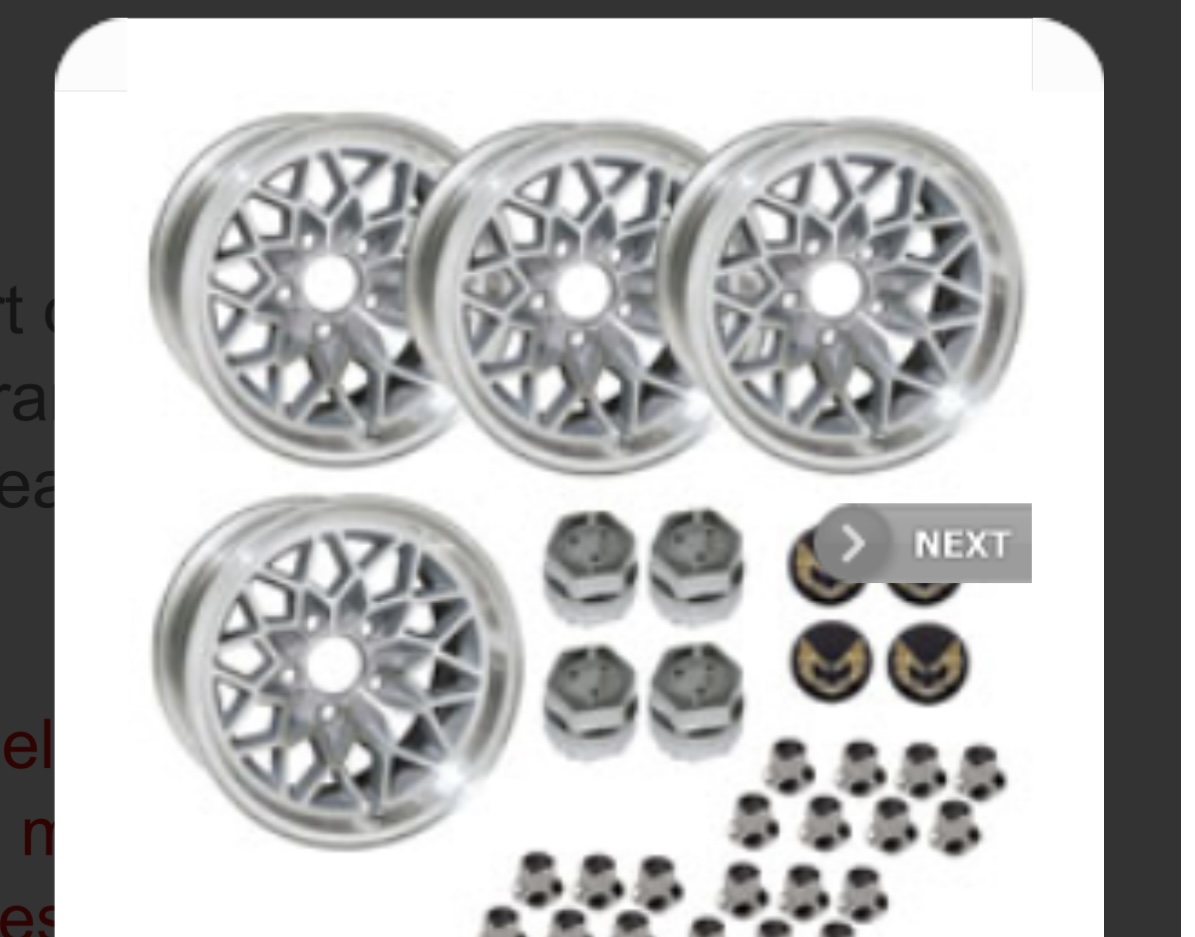
Since I might be traveling slightly faster than the posted speed limit it would be prudent to bring this 3,750lb hunk of steel to a stop. Especially since I just spent a ton of money restoring it! The stock set up was dictated by the inability for me to order the WS6 package; 15X8 Rally II wheels, single piston front disc and rear drum brakes. Utilizing the advantages of the Year One 17X9 Aluminum Snowflake wheels permitted maximizing braking.
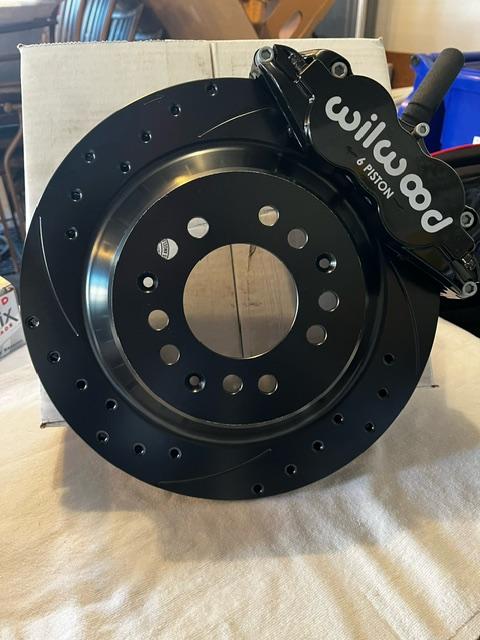
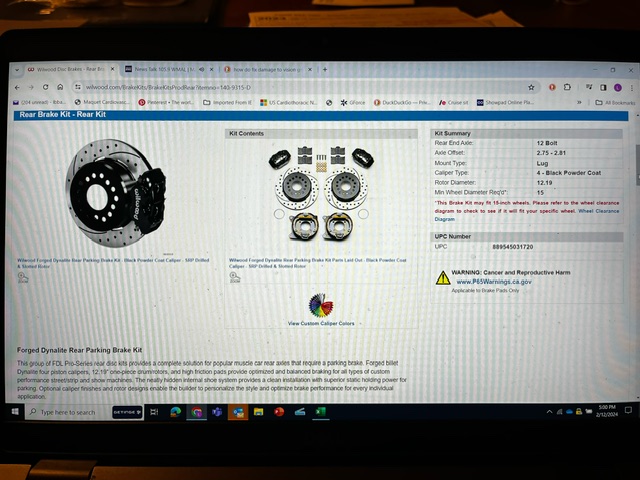
Wilwood Disc Brakes kits were a preferable choice balancing performance and cost.
The front wheels will receive the 6 piston caliper that rides on a 12.88 inch drilled and slotted rotors. The rear; A 4 piston caliper with 12.19 inch one piece drum (parking brake) rotor that’s drilled and slotted.
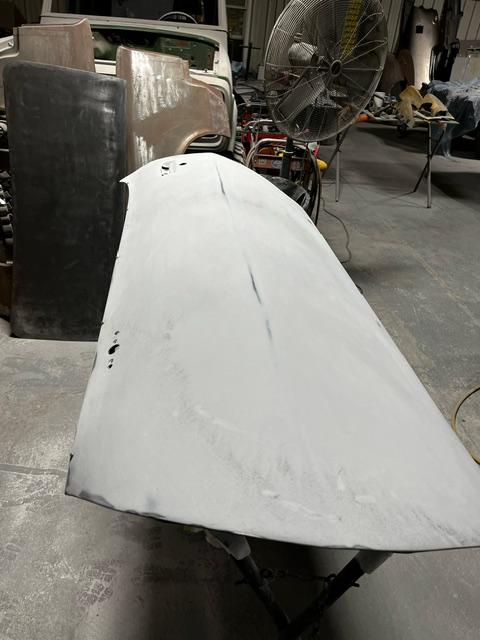
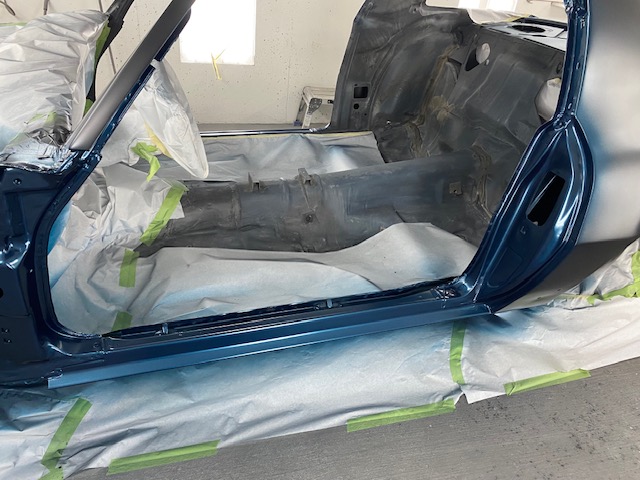
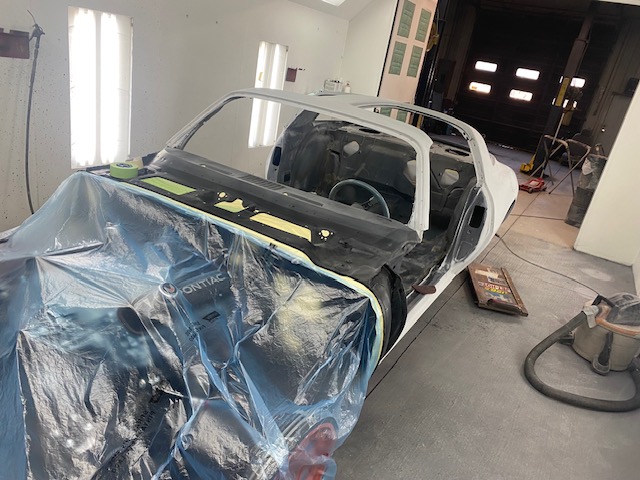
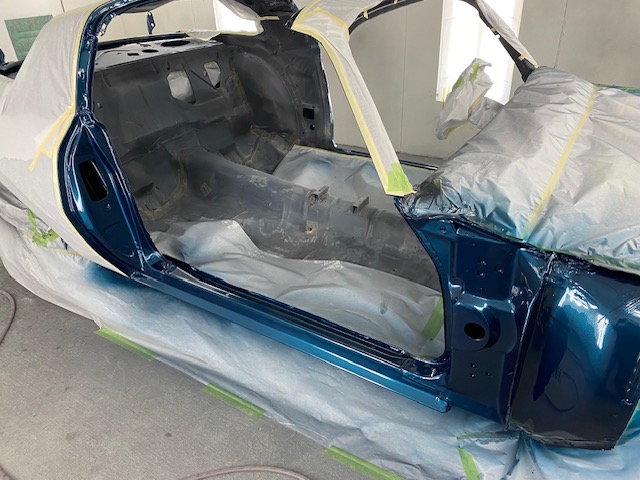
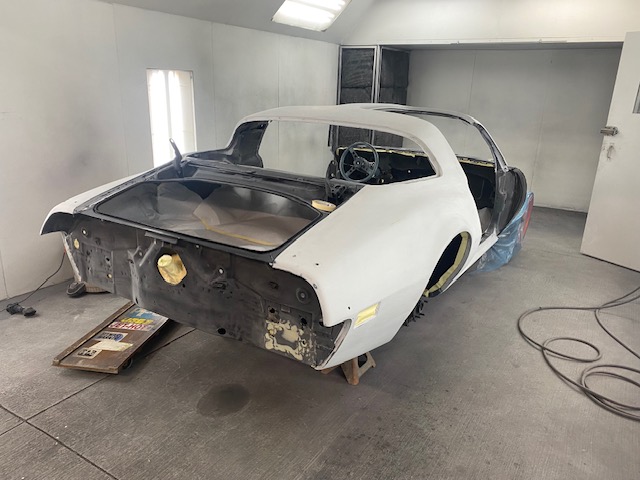
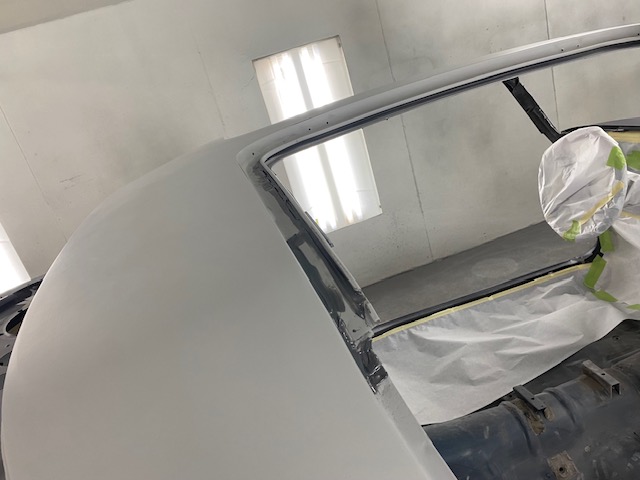
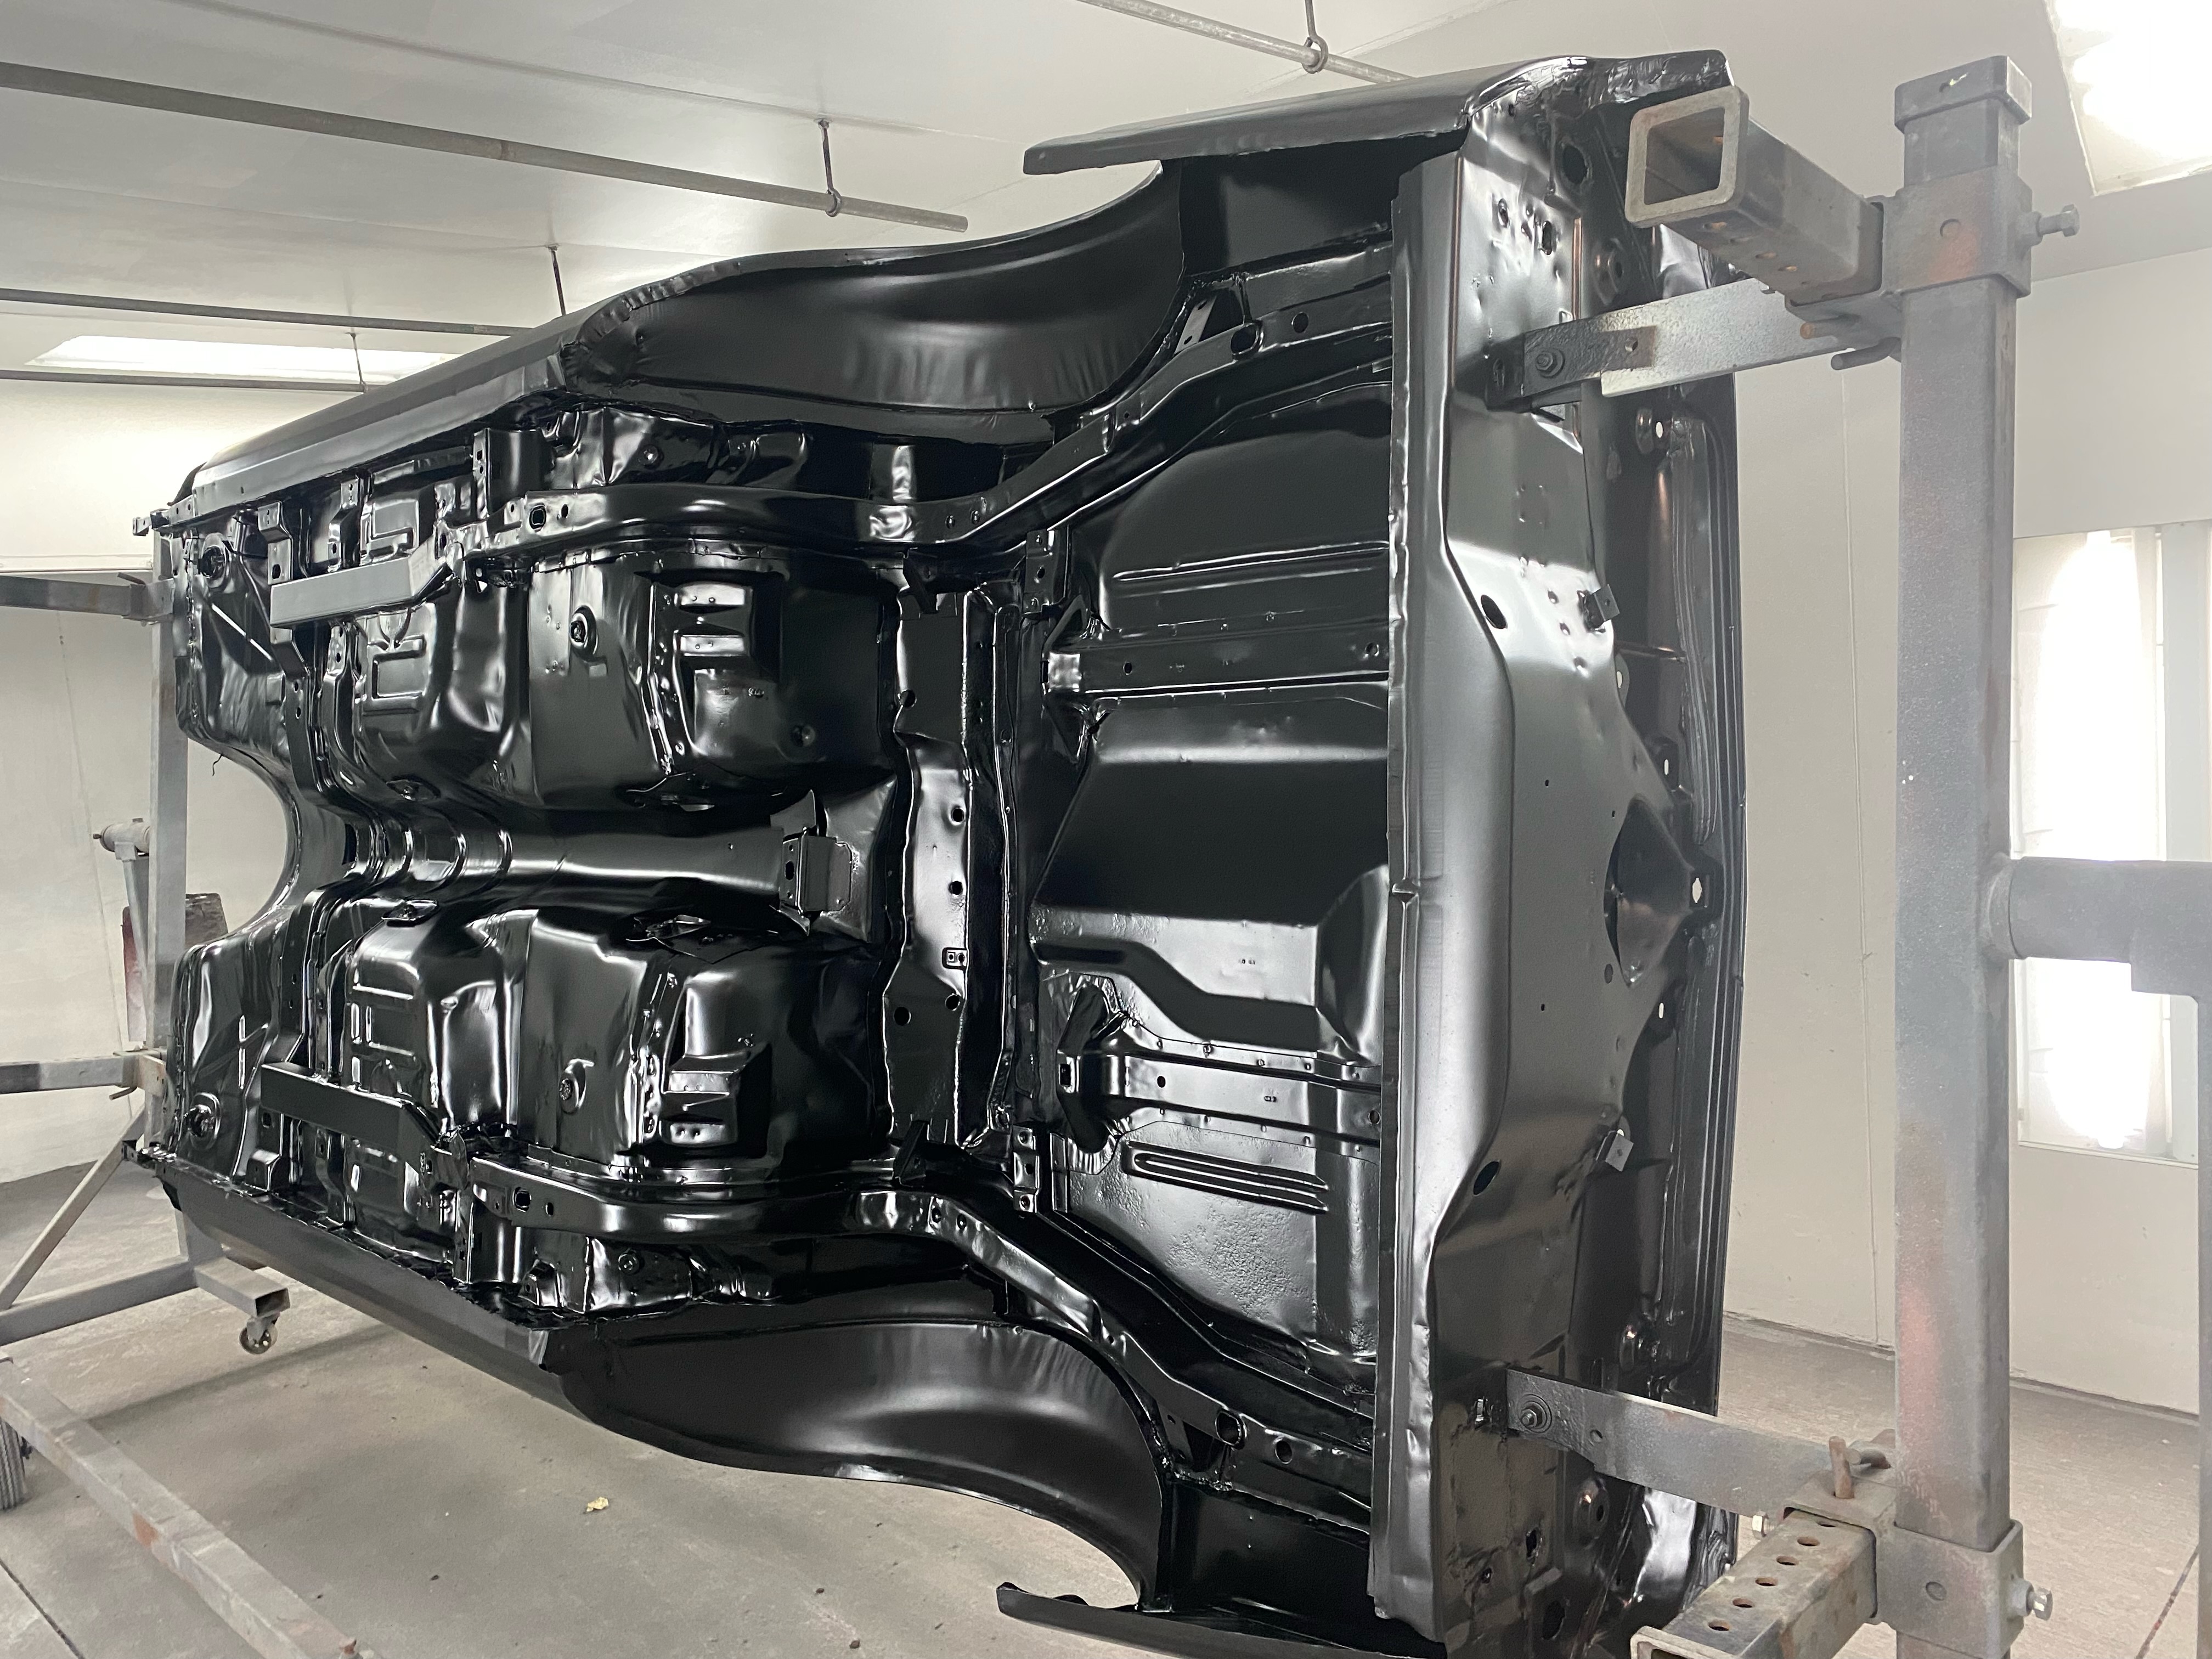
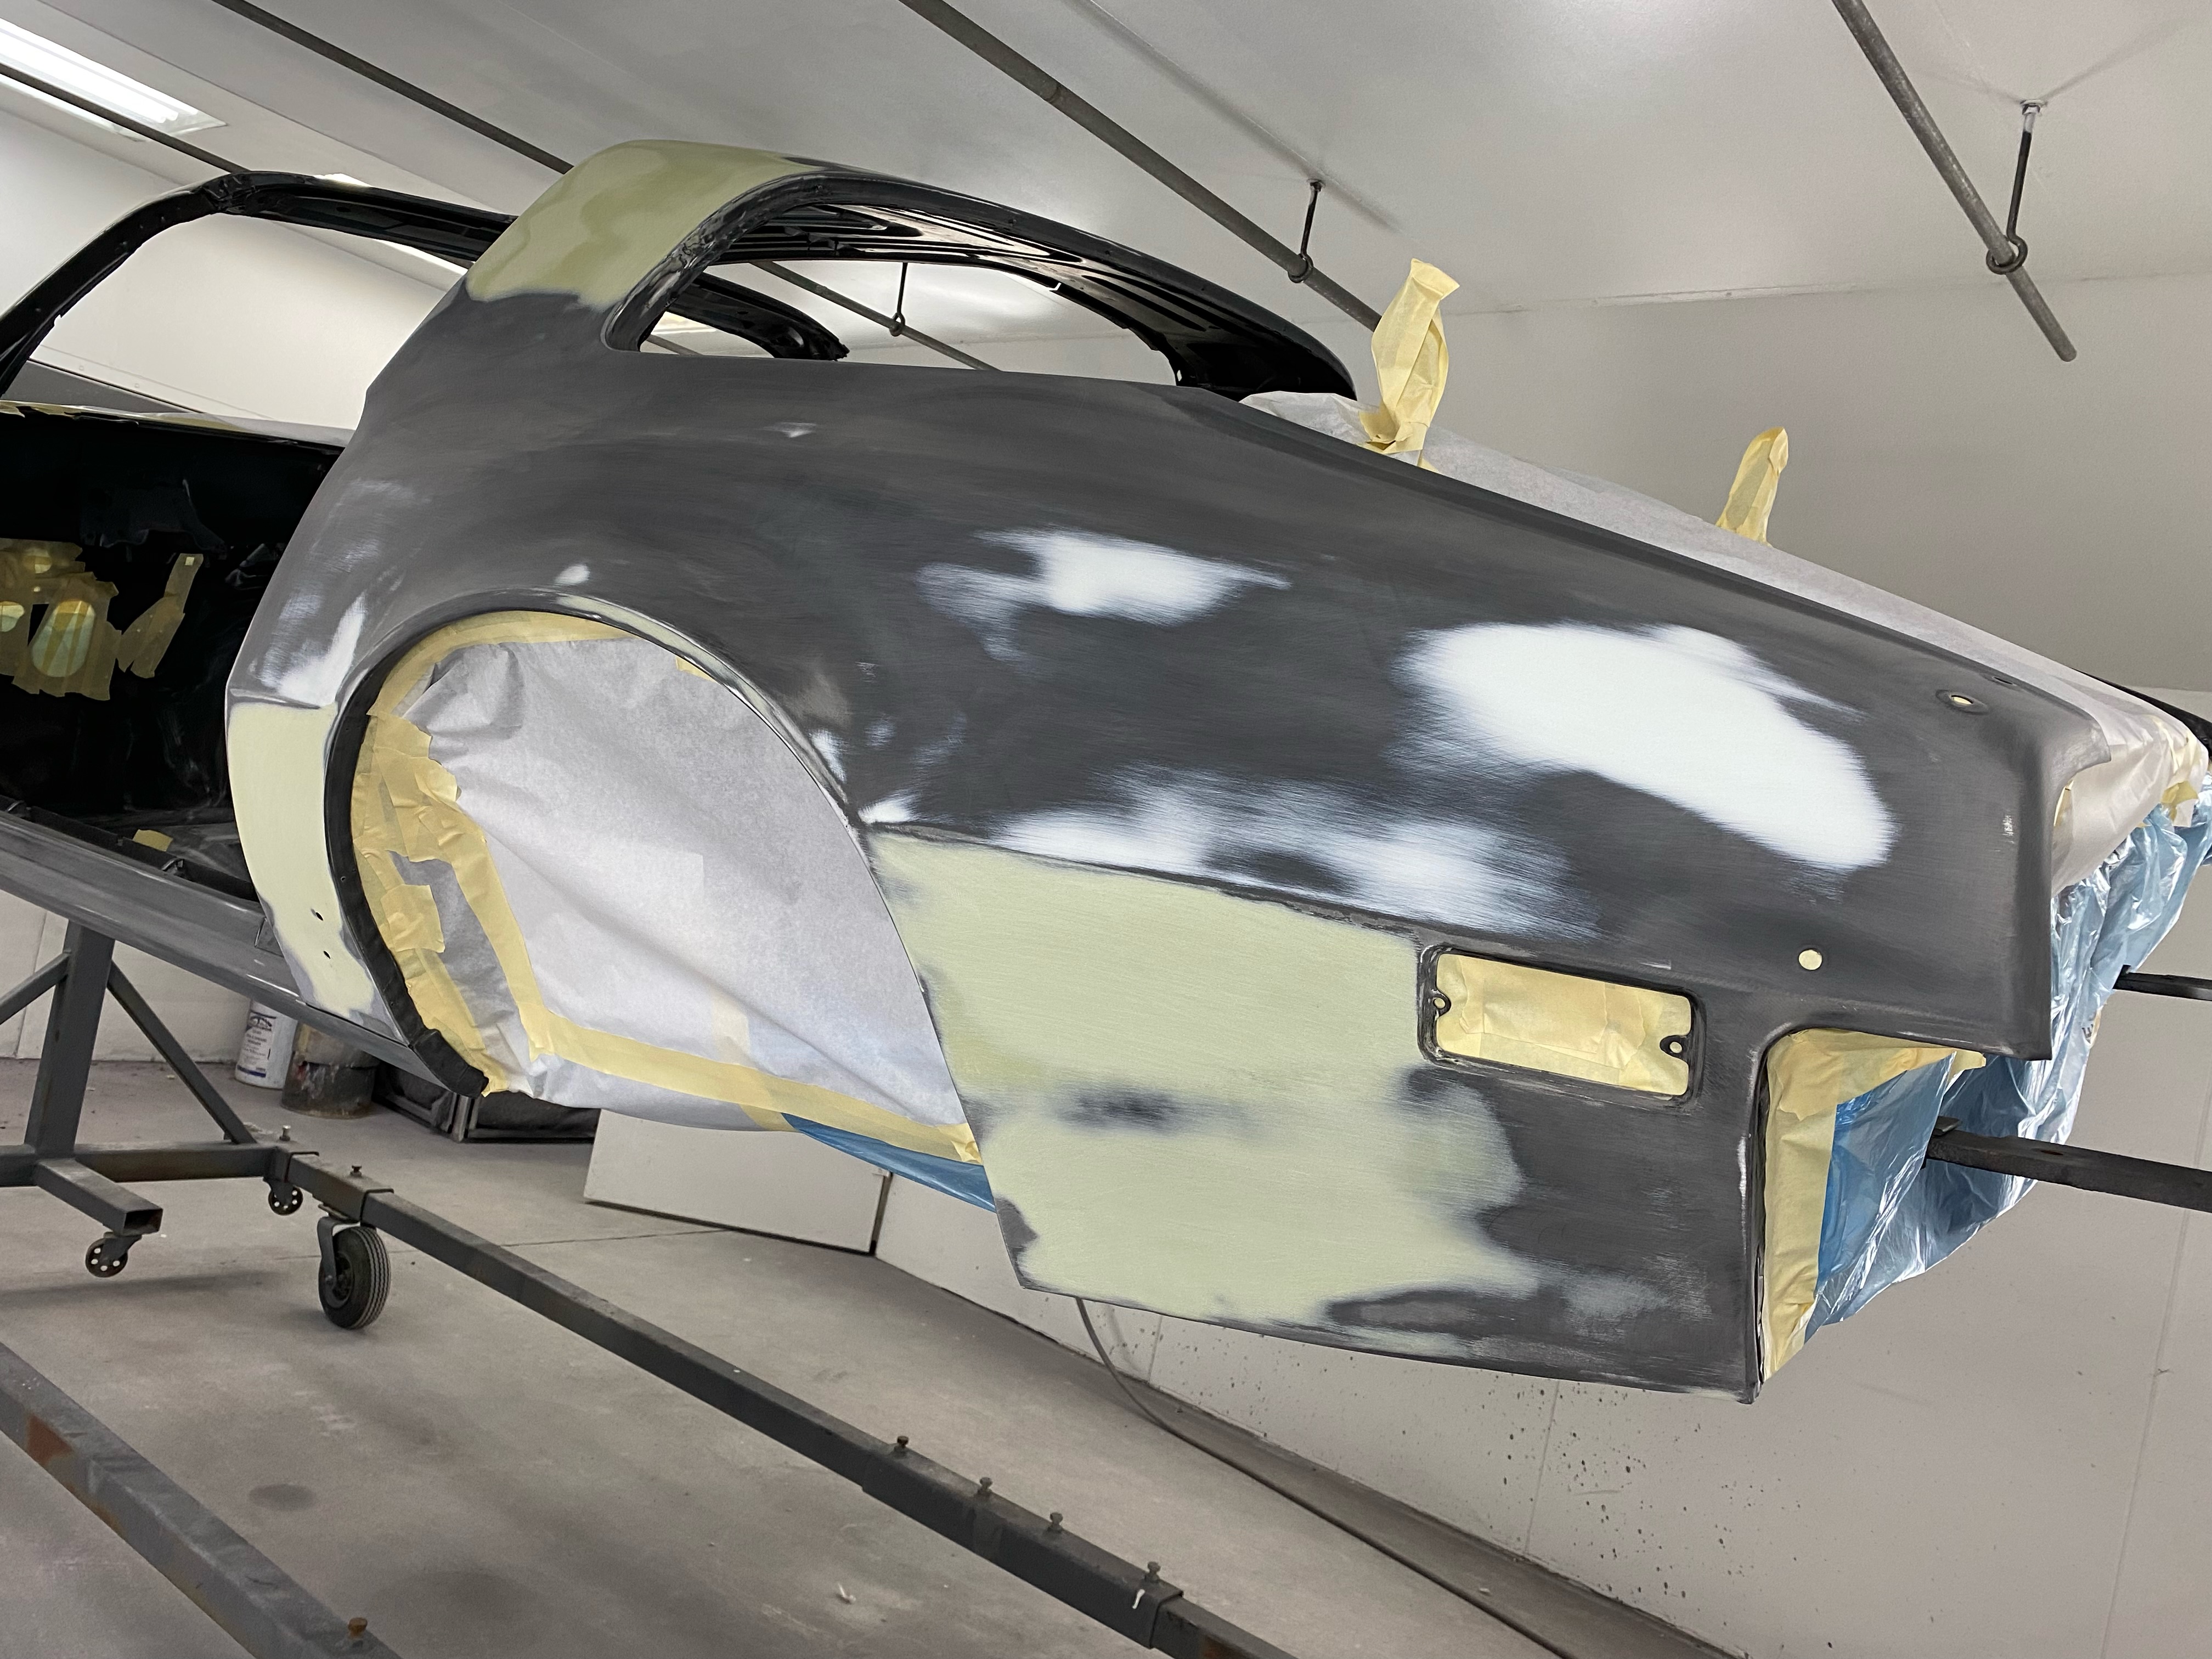
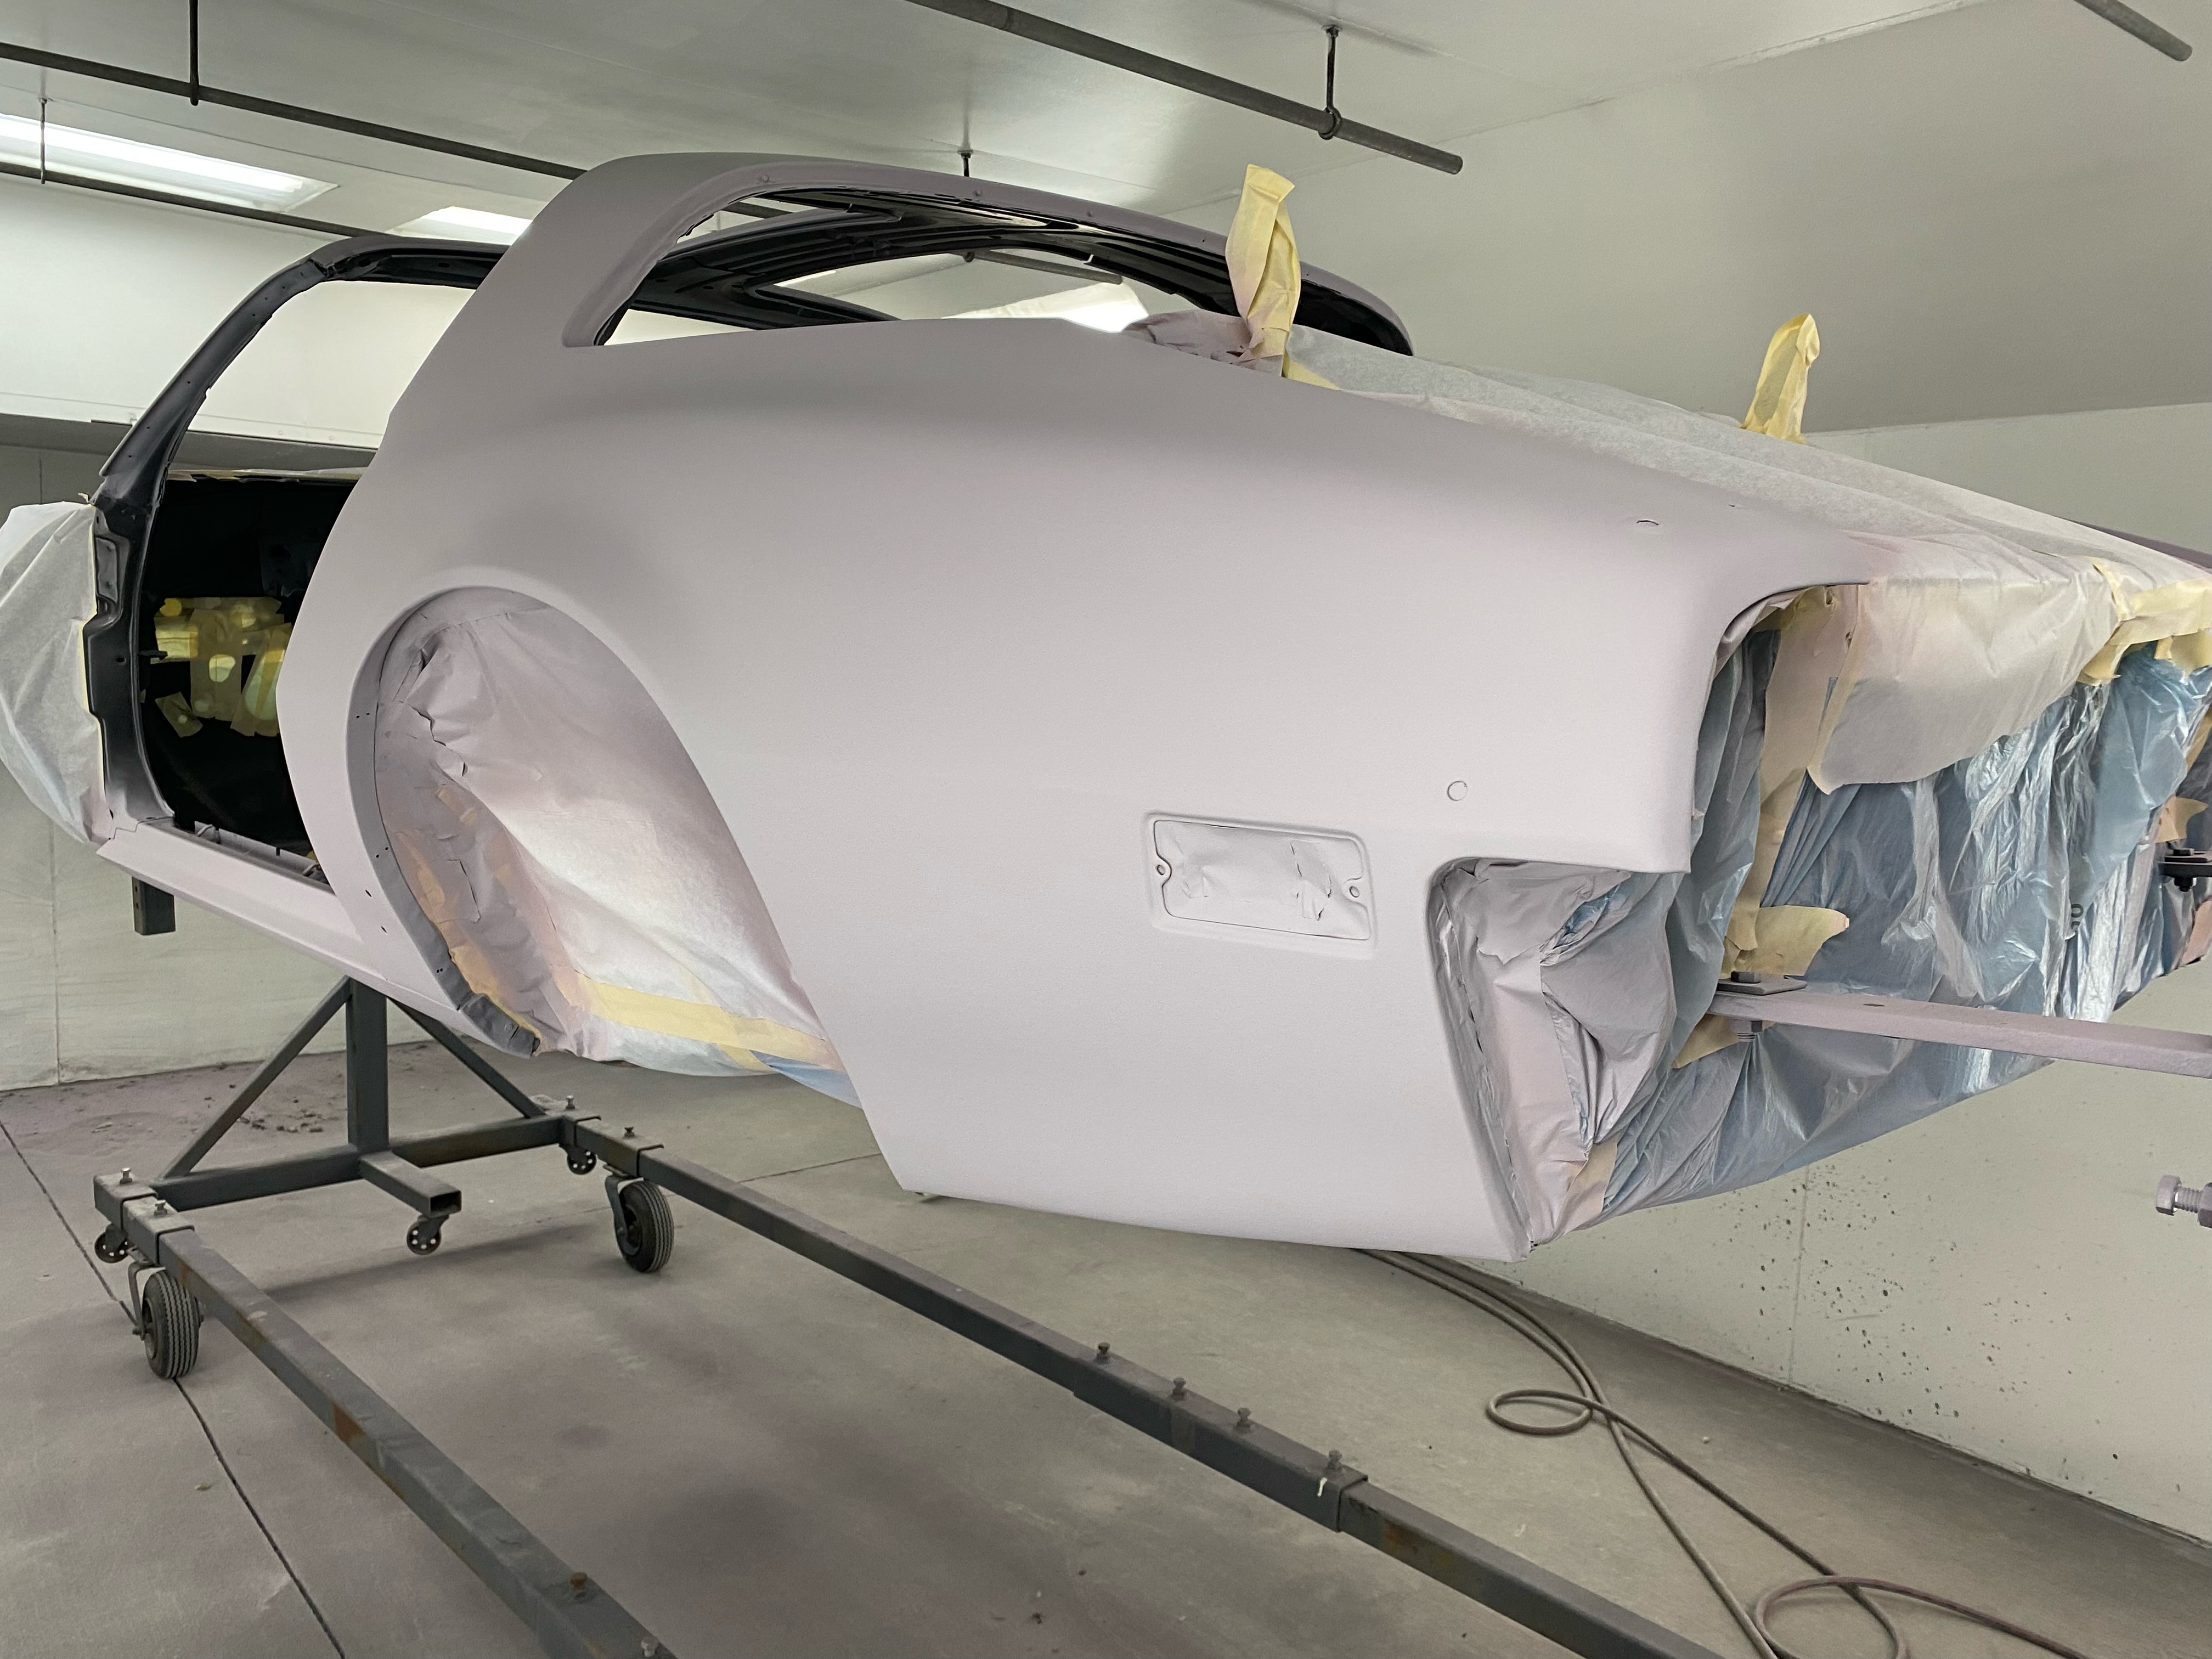
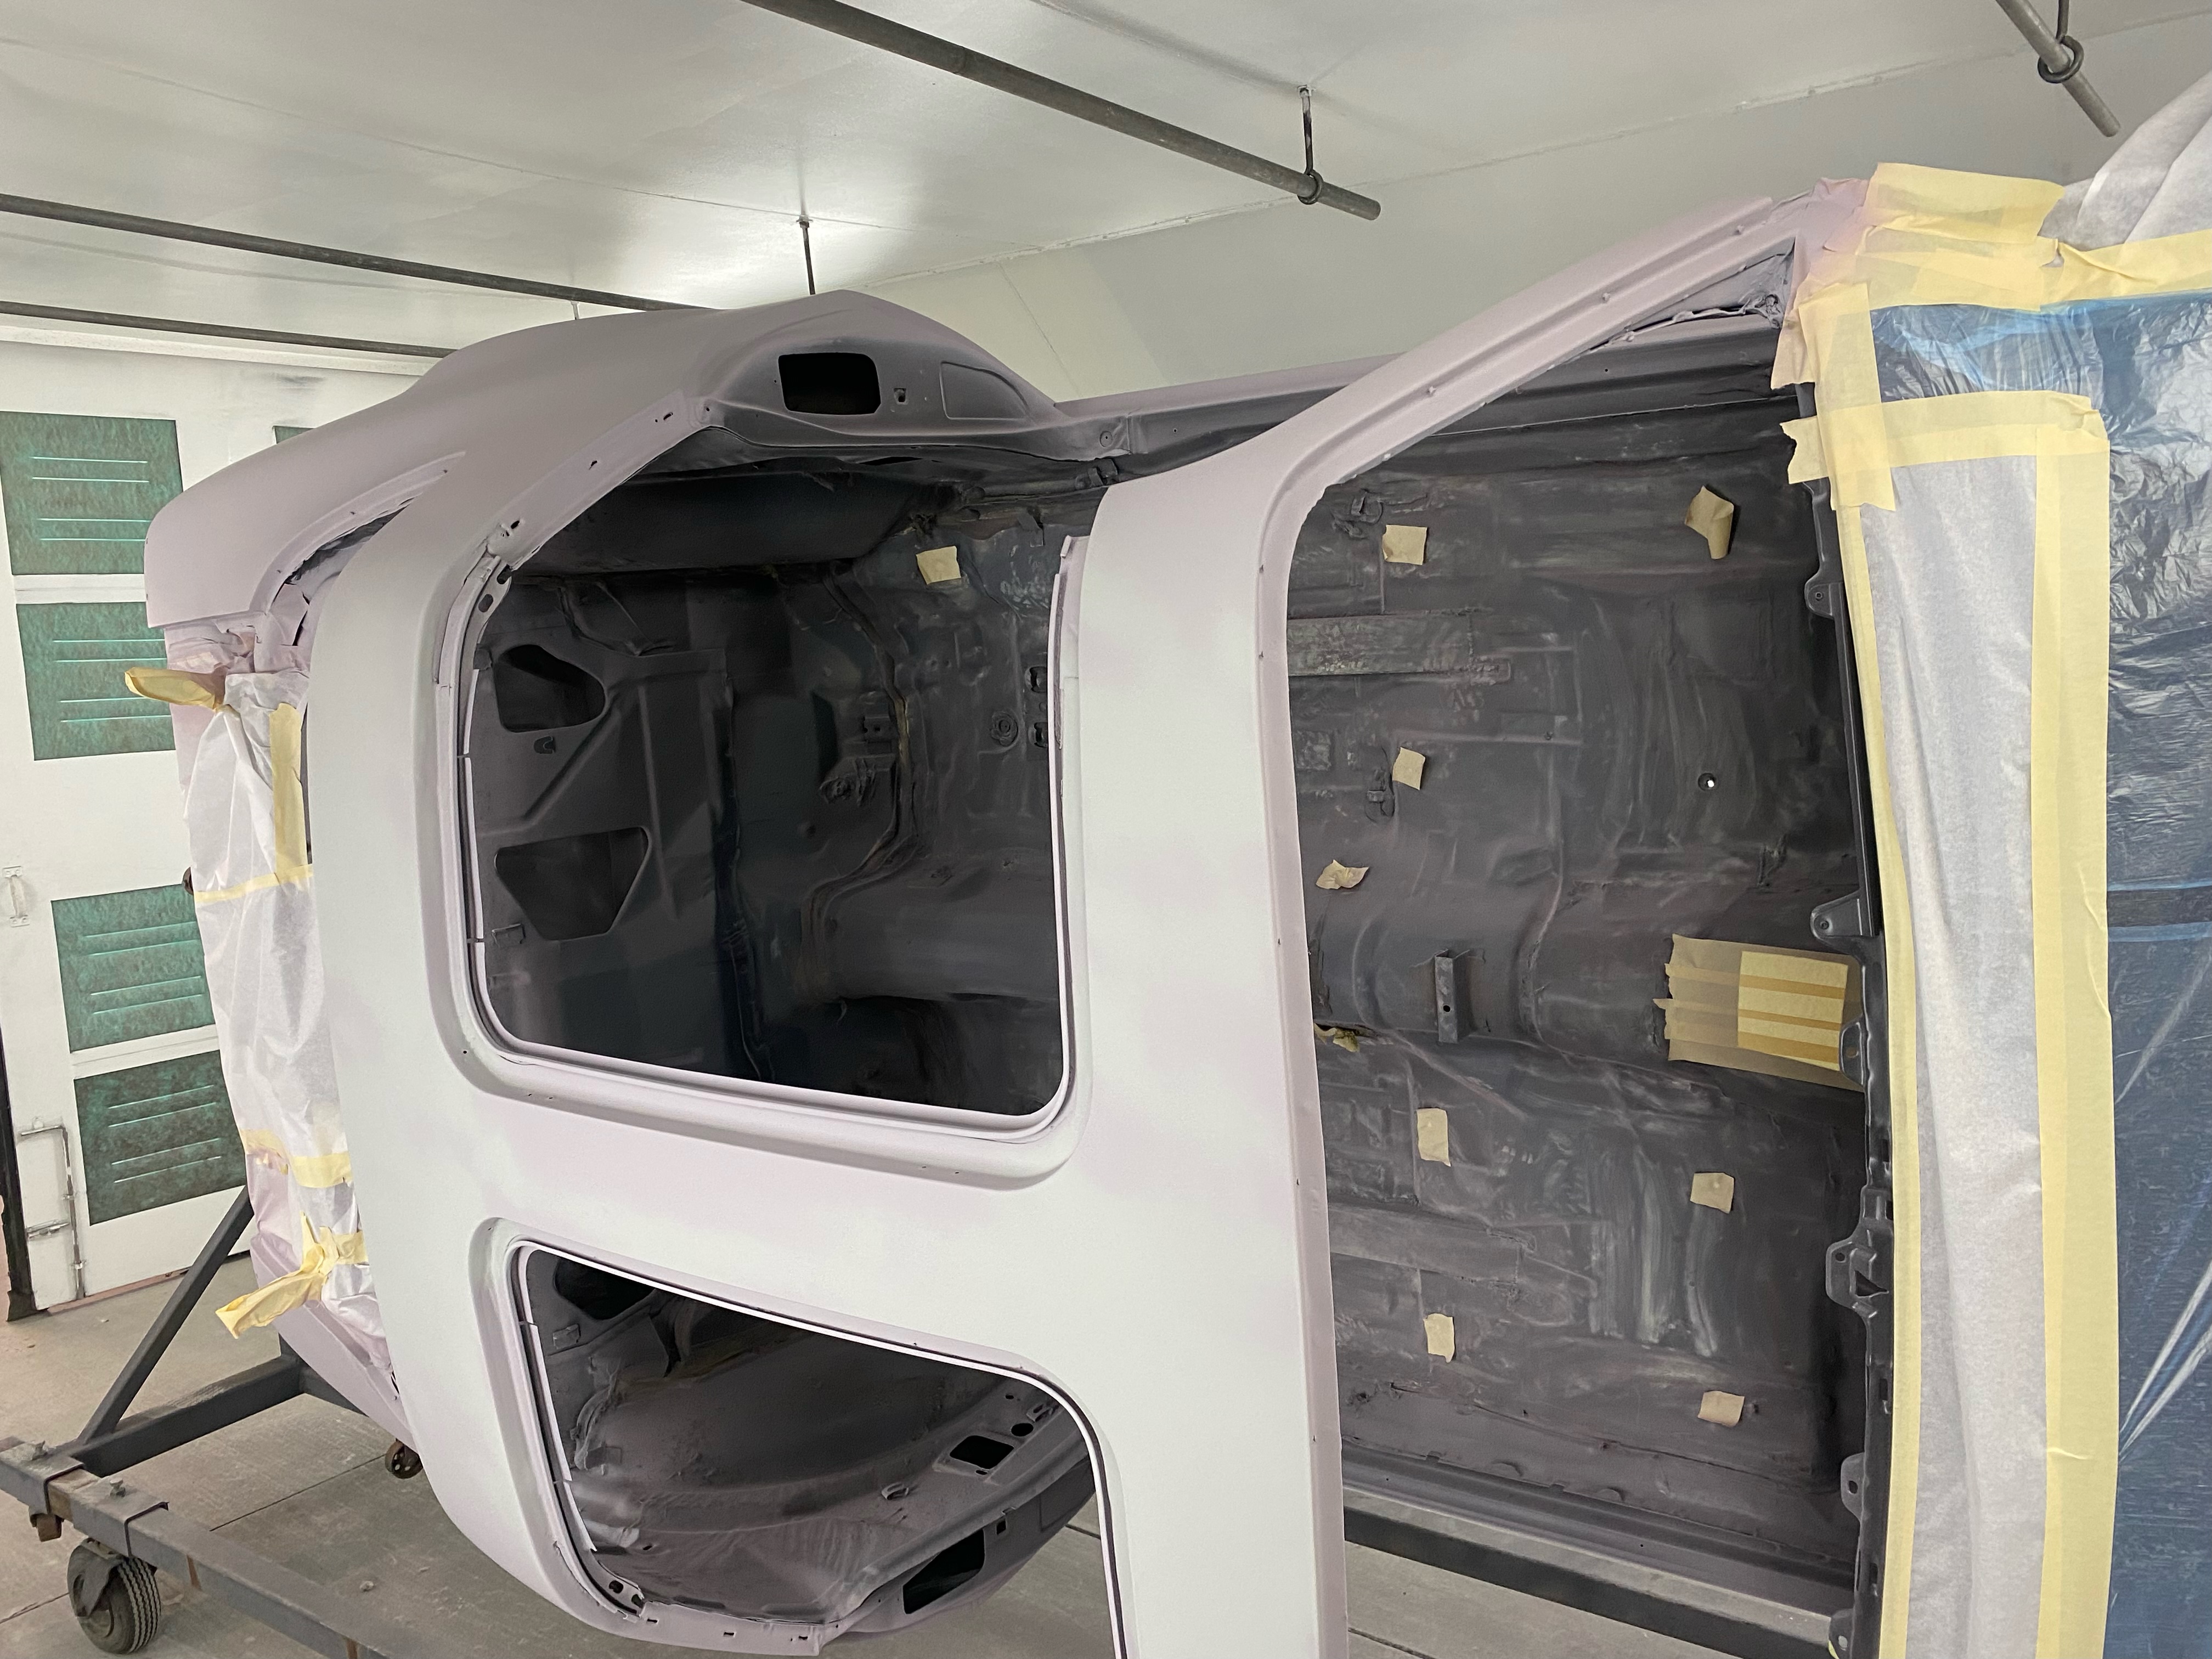
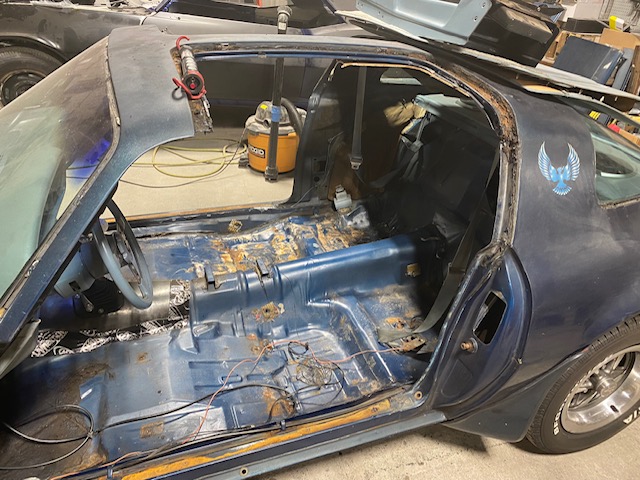
The final body work and sanding is complete. Now stage one of the paint booth with application of the last primer coat and Color edging of the door jams etc.
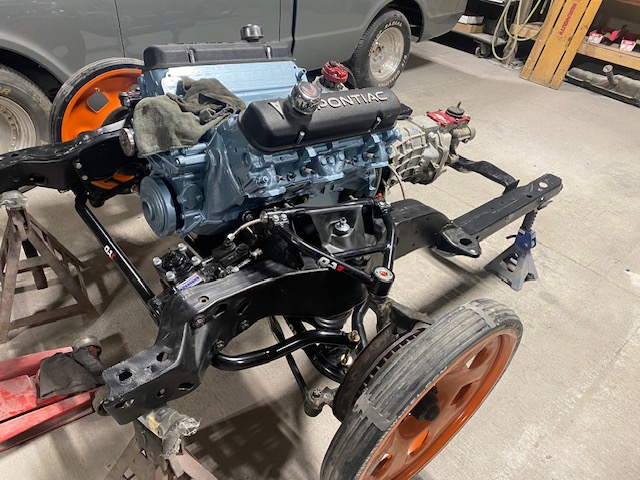
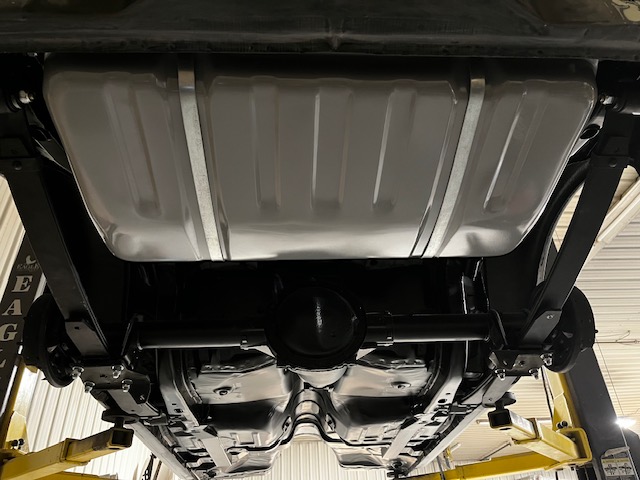
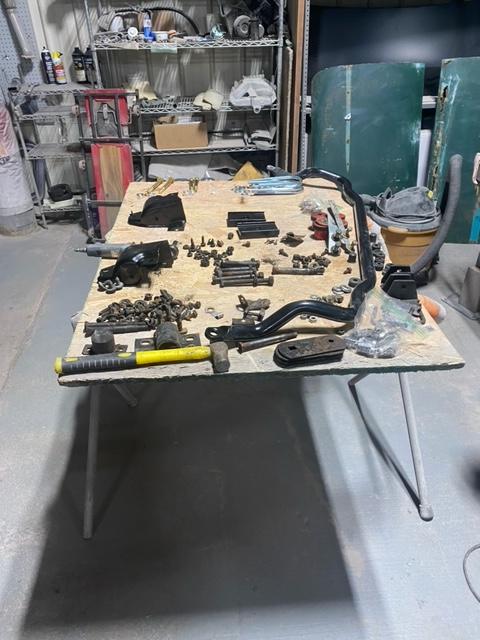
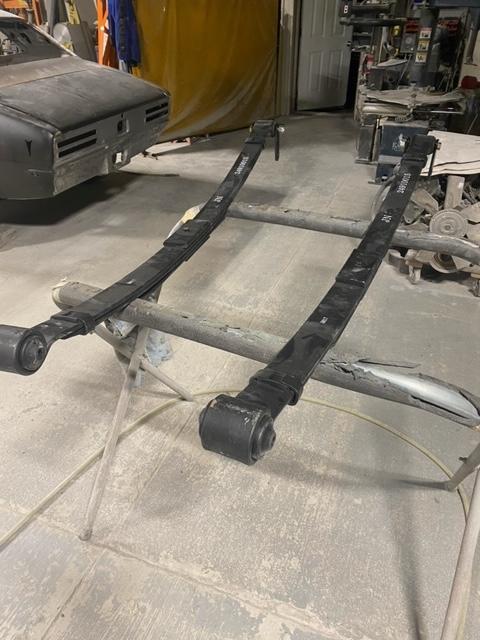
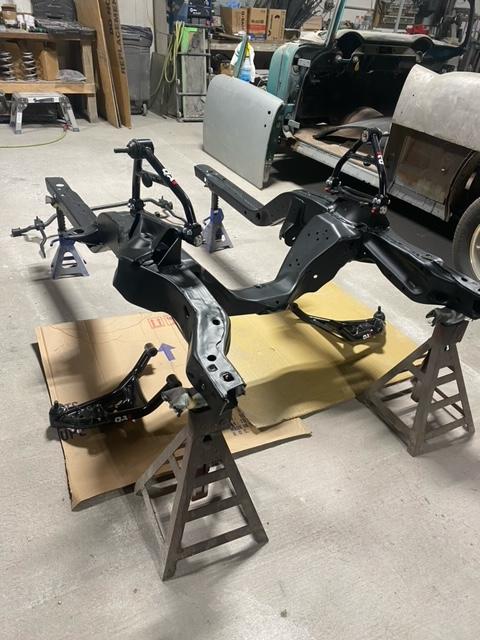
The reassembly steadily continues. QA 1 suspension with
dual adjustable front and rear shocks. The 220 sanding stage just ended while I
was at the shop. Next level to commence today. Steve said the paint edging of
the floor, door jams, etc is next
.
